Quick answer
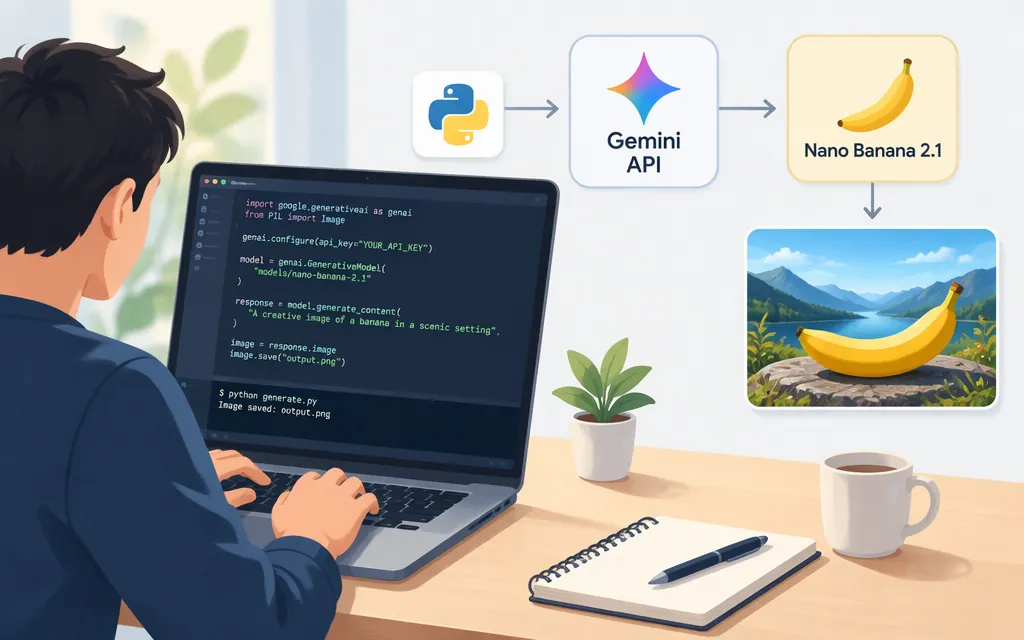
For a new Gemini API image-generation integration, start with Nano Banana 2.1, model ID gemini-nano-banana-2.1. Google lists it as generally available and recommends it for new projects. Use the Google Gen AI SDK for Python and generate_content to make a text-to-image request; then save the returned image part. (ai.google.dev)
This walkthrough uses the Gemini Developer API with an API key. Google recommends the newer Interactions API for new development, while generateContent remains supported. The example below uses generate_content to keep the first request and image-saving flow compact. (aistudio.google.com)
Make and save your first image
Prerequisites
- Python installed.
- A Gemini API key from Google AI Studio, stored as an environment variable named
GEMINI_API_KEY. Keep the key on a server or in a protected development environment; do not expose it in browser-side code. Google’s getting-started guide lists an API key as a Gemini API prerequisite. (ai.google.dev) - The Google Gen AI Python SDK and Pillow:
python -m pip install --upgrade google-genai pillow
Set the key in your shell before running Python:
export GEMINI_API_KEY="YOUR_API_KEY"
On Windows PowerShell, use:
$env:GEMINI_API_KEY="YOUR_API_KEY"
Python example
Save this as generate_image.py and run python generate_image.py:
from google import genai

client = genai.Client()

response = client.models.generate_content(
    model="gemini-nano-banana-2.1",
    contents=(
        "Create a clean editorial illustration of a small greenhouse at sunrise, "
        "with a person watering seedlings, soft green and amber colors, landscape composition."
    ),
)

saved = False
for part in response.parts:
    if part.text:
        print(part.text)
    elif part.inline_data is not None:
        part.as_image().save("generated.png")
        saved = True

if not saved:
    raise RuntimeError("The response did not contain an image part to save.")

print("Saved generated.png")
The model ID and text-to-image workflow follow Google’s Nano Banana image-generation documentation. The code checks response parts rather than assuming every part is an image, then writes the image to generated.png. For a successful image response, the script prints Saved generated.png and the file appears in the working directory. (aistudio.google.com)
Which Gemini image model should you choose?
| Need | Model to consider | Practical distinction |
|---|---|---|
| A new general-purpose image-generation integration | gemini-nano-banana-2.1 |
Google describes this as its primary high-efficiency image-generation and conversational-editing model, with 1K, 2K, and 4K output options. (ai.google.dev) |
| Speed and cost are the main constraints | gemini-3.1-flash-lite-image |
Google describes this as its fastest, lowest-cost image model; it is optimized for 1K output and does not support 2K or 4K image sizing. (ai.google.dev) |
| More complex creative control or high-fidelity text in artwork | gemini-3-pro-image |
Google positions this as the premium choice for complex design, product mockups, and visuals that need accurate text rendering or grounding. (ai.google.dev) |
For a first integration, use the recommended 2.1 model unless your requirements point clearly to Lite’s efficiency focus or Pro’s specialized capabilities. Google’s model page identifies gemini-nano-banana-2.1 as stable; its changelog records its general availability on October 6, 2026. (ai.google.dev)
Avoid copying older tutorial model IDs without checking them. Google describes gemini-2.5-flash-image as a legacy image model and recommends migrating to Nano Banana 2 Lite; historical experimental Gemini 2.0 identifiers are not interchangeable with the current recommended model. (aistudio.google.com)
Settings and first-request constraints
You do not need to configure aspect ratio or image size to try the basic request above. Start with the model’s default output, inspect the saved image, and add controls only when your application needs them. Google lists Nano Banana 2.1 output sizes of 1K, 2K, and 4K, with 1K as the default. Image generation returns image and text output, so the response loop should handle both kinds of parts. (ai.google.dev)
If you later need a fixed output size or aspect ratio, use the current image-generation guide’s model-specific configuration rather than assuming that settings for another image model also apply. For example, Google says the Lite model is limited to 1K, while Nano Banana 2.1 supports higher resolutions. (ai.google.dev)
API choice: generateContent or Interactions?
Google’s documentation recommends the Interactions API for new development and says the original generateContent API remains fully supported. This article’s Python snippet uses generate_content, the SDK method for that supported API. If you are starting a larger or multi-turn application, follow Google’s current Interactions API image-generation guide instead of treating this minimal example as the preferred architecture for every project. (aistudio.google.com)
This page covers image generation through the Gemini Developer API. Do not confuse it with image-understanding examples that send an image to Gemini and receive text: those examples perform a different task. (ai.google.dev)
Sources
Nano Banana image generation — Gemini API | Google AI Studio
Gemini Nano Banana 2.1 — Gemini API | Google AI for Developers
Gemini 3.1 Flash Lite image — Gemini API | Google AI for Developers
Gemini 3 Pro image — Gemini API | Google AI for Developers
Interactions API — Gemini API | Google AI Studio
Migrating to the Interactions API — Gemini API | Google AI Studio
Getting started — Gemini API | Google AI Studio