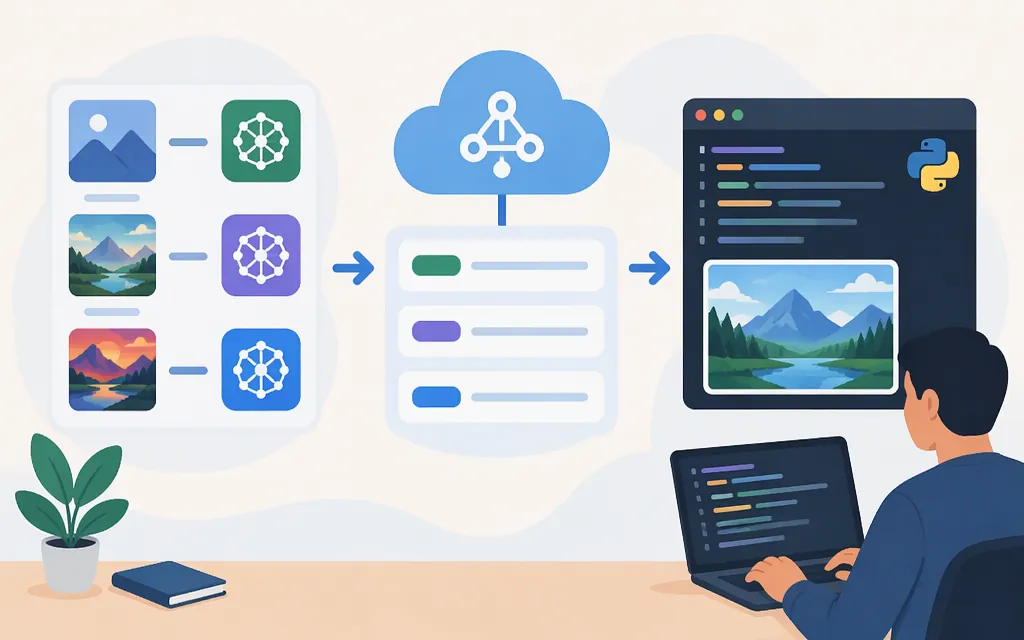
Which GPT Image API should you use?
For a single image-generation request or edit, start with the Images API: POST /v1/images/generations for generation and POST /v1/images/edits for editing. For image generation as part of a conversation or multi-step workflow, use the Responses API image-generation tool with a supported model. OpenAI’s current guide describes these as distinct workflows. (developers.openai.com)
The model reference lists GPT Image 2.6 Flare (gpt-image-2.6-flare) and GPT Image 2.6 Sunburst (gpt-image-2.6-sunburst). OpenAI describes Flare as suited to faster iteration and Sunburst to detailed visual work. Check the live reference for the model and route you plan to use. (developers.openai.com)
| Your task | Route to start with |
|---|---|
| Generate an image from a prompt | Images API: images.generate |
| Edit one or more existing images | Images API: images.edit |
| Generate or refine images within a conversation | Responses API image-generation tool |
Do not assume that a parameter or response field documented for one API applies unchanged to the other.
Generate and save an image with Python
Install the OpenAI Python SDK and provide your API key through an environment variable rather than hard-coding it:
python -m pip install --upgrade openai
export OPENAI_API_KEY="your_api_key"
Save this as generate_image.py and run it:
import base64
from pathlib import Path
from openai import OpenAI

client = OpenAI()
response = client.images.generate(
    model="gpt-image-2.6-flare",
    prompt="A clean product photo of a blue ceramic mug on a white table",
    output_format="png",
)

if not response.data or not response.data[0].b64_json:
    raise RuntimeError("The API response did not include image data.")

image_bytes = base64.b64decode(response.data[0].b64_json)
Path("generated.png").write_bytes(image_bytes)
The request selects a model, supplies a prompt, and explicitly requests PNG so the file extension matches the requested format. GPT Image API examples use the Python SDK’s client.images.generate method and return image data in b64_json; the code checks that image data is present before decoding it. Confirm current parameters and model support in the generation reference before adapting this example. (developers.openai.com)
Keep the API key on a server or in a secrets manager; do not expose it in browser or mobile-app code. Check model access for your account before launch. OpenAI says Organization Verification may be required for GPT Image models. (developers.openai.com)
Editing an existing image
The edit endpoint accepts a prompt and one or more image references. Its JSON form uses an images array; each entry can identify an uploaded file with file_id or provide an image_url, including a fully qualified URL or base64 data URL. For GPT Image models, the reference allows up to 16 input images. A minimal request shape is:
{
  "model": "gpt-image-2.6-flare",
  "prompt": "Change the mug to matte red ceramic; keep the table and lighting",
  "images": [
    { "image_url": "https://example.com/source-image.png" }
  ]
}
Use an image URL your application can supply to the API, or upload the image and pass its file ID. This JSON reference form is distinct from sending an image as a multipart file in an SDK request. Check the edit reference for the exact fields and input requirements for your chosen method. (developers.openai.com)
The edit reference also documents an optional mask. For the documented mask form, it must be a PNG under 4 MB, match the source image’s dimensions, and use transparent pixels to indicate the area to edit. If multiple images are supplied, the mask applies to the first one. A mask is not a guarantee that every other pixel will remain identical. (developers.openai.com)
API access, safety, and production checks
- Bound waiting and retries. Set a request timeout and an overall deadline appropriate to your application. Retry only failures you consider transient, with backoff and a bounded number of attempts; do not repeatedly resend an unchanged invalid request or treat quota and policy failures as transient. Check the SDK’s retry behavior so you do not unintentionally add another retry layer. These are application-level safeguards, not a promise of a particular API completion time.
- Handle ambiguous timeouts carefully. A client timeout does not by itself prove the server rejected or did not process the request. Before submitting again, account for the possibility that the first request completed; do not assume an idempotency guarantee unless the selected API documents one.
- Use safety identifiers appropriately. OpenAI’s safety guidance says to include
safety_identifierin each Images API generation or edit request when using safety identifiers. Use a stable, privacy-preserving identifier rather than passing personal information directly. (developers.openai.com) - Use moderation and review where appropriate. OpenAI recommends moderation and human oversight as application safeguards. A moderation result does not replace your product’s own rules or review process. (
developers.openai.com) - Monitor the route actually in use. Log the model, request settings, latency, request ID, retry count, review outcome, and cost information available to your application. Do not assume every route returns the same usage fields.
Pricing
The supplied OpenAI model-page excerpt lists GPT Image 2.6 Flare rates of $5 per 1 million text-input tokens, $8 per 1 million image-input tokens, and $30 per 1 million image-output tokens. These are token rates, not a single flat price per generated image; check the current model pricing for the route and settings you deploy. (developers.openai.com)
First-integration checklist
- Match the API route to the task: direct generation or editing in the Images API, or conversational image work in the Responses API.
- Confirm the model ID and supported fields in the live reference.
- Keep credentials server-side and confirm model access.
- Handle the documented image response and check for missing image data before saving.
- Test timeouts, bounded retries, moderation or review, and monitoring before exposing the feature to users.
For current implementation details, consult OpenAI’s image-generation guide, generation reference, and edit reference.
Sources
Create image — OpenAI API Reference
Create image edit — OpenAI API Reference
Safety classifiers — OpenAI API
Safety best practices — OpenAI API