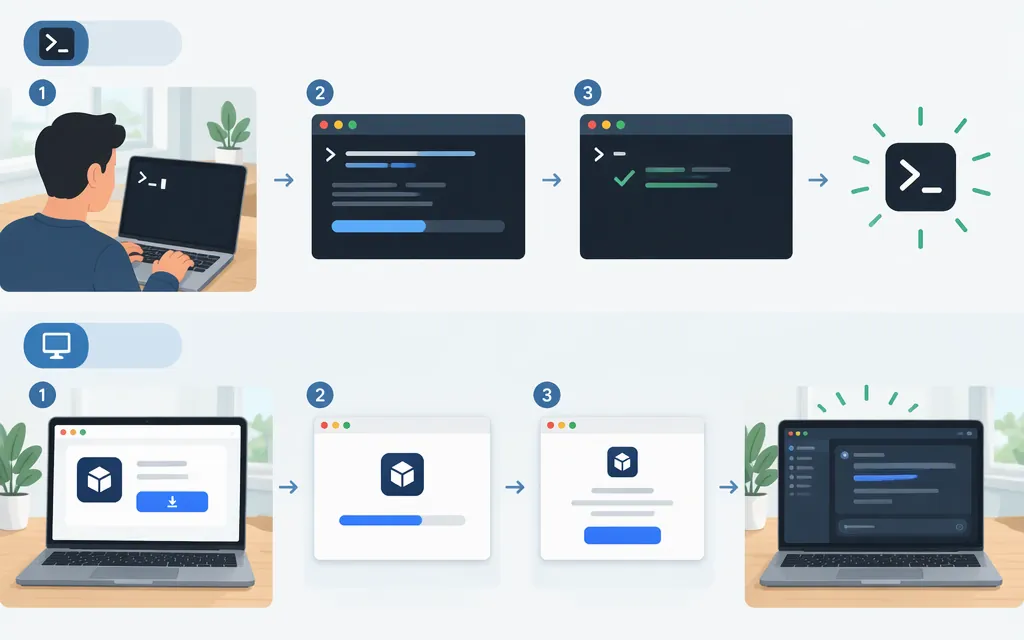
Choose the Codex version for your workflow
- Terminal or scripts: Install Codex CLI. It runs from a project directory; OpenAI documents standalone installers for macOS/Linux and Windows.
- Desktop workflow: Install the ChatGPT desktop app and select Codex. The app includes Codex on macOS and Windows.
- Inside an editor: Follow the Codex IDE extension guide.
The steps below focus on installing Codex CLI, then include a desktop-app option.
Install Codex CLI
Use the standalone installer for your operating system. See OpenAI’s Codex CLI guide for current platform requirements and installation methods.
macOS or Linux
Open a terminal with curl available, then run:
curl -fsSL https://chatgpt.com/codex/install.sh | sh
Windows
Use the Windows-specific installation steps in the official Codex CLI guide. Follow the instructions for your shell and system; don’t substitute the macOS/Linux command above.
Launch Codex, sign in, and check it
-
Open a terminal in a project folder you want Codex to work with.
-
Run:
codex -
On first launch, choose Sign in with ChatGPT and complete the browser flow, or select another sign-in method offered by the CLI.
-
Try a small first task, such as
Tell me about this project.Review any proposed actions before approving changes or commands.
OpenAI’s quickstart describes opening a project directory, running codex, signing in, and asking Codex to explain the project. If the command is not recognized, reopen your terminal and try again; for further help, see the official CLI guide.
Install the desktop app instead
Download the ChatGPT desktop app, open it, and sign in. Select Codex from the desktop menu. The app with Codex is available for macOS and Windows. On macOS, OpenAI lists macOS 14 or later and either Apple Silicon (M1 or better) or an Intel processor as requirements; use the download page to check the current installer and compatibility details for your device.
If you already use the Codex desktop app, OpenAI says updating it transitions it to the new ChatGPT desktop app, which opens in Codex for existing Codex users. See the desktop-app transition instructions.
Codex API-key sign-in is not the same as building an API integration
For local Codex CLI work with OpenAI API billing, OpenAI documents API-key sign-in as an alternative to ChatGPT sign-in. Create a key in the OpenAI API dashboard, keep it private, and make it available to the CLI without putting it in a prompt, project file, or shell command.
In a Bash or Zsh terminal on macOS or Linux, enter the key at a hidden prompt and pass it to Codex through standard input:
printf 'OpenAI API key: '
IFS= read -r -s OPENAI_API_KEY
printf '\n'
export OPENAI_API_KEY
printenv OPENAI_API_KEY | codex login --with-api-key
unset OPENAI_API_KEY
The key is entered without being echoed or included in the commands stored in shell history, and unset removes it from the current shell after sign-in. The documented printenv login example is for a Unix-style shell, not PowerShell. The authentication instructions here do not establish a Windows PowerShell equivalent for API-key CLI sign-in; on Windows, use the CLI’s supported ChatGPT sign-in flow or consult the current authentication guide before attempting API-key sign-in.
API-key sign-in lets Codex use usage-based access for local work; it does not make Codex an API endpoint for your application. For software that calls models directly, use the OpenAI API and its SDKs. Do not assume an arbitrary API-compatible URL or third-party provider will work. OpenAI documents a specific Amazon Bedrock configuration with its own requirements.
Sources
Authentication — ChatGPT Learn
Moving to the new ChatGPT desktop app — OpenAI Help Center
Downloading the ChatGPT macOS app — OpenAI Help Center