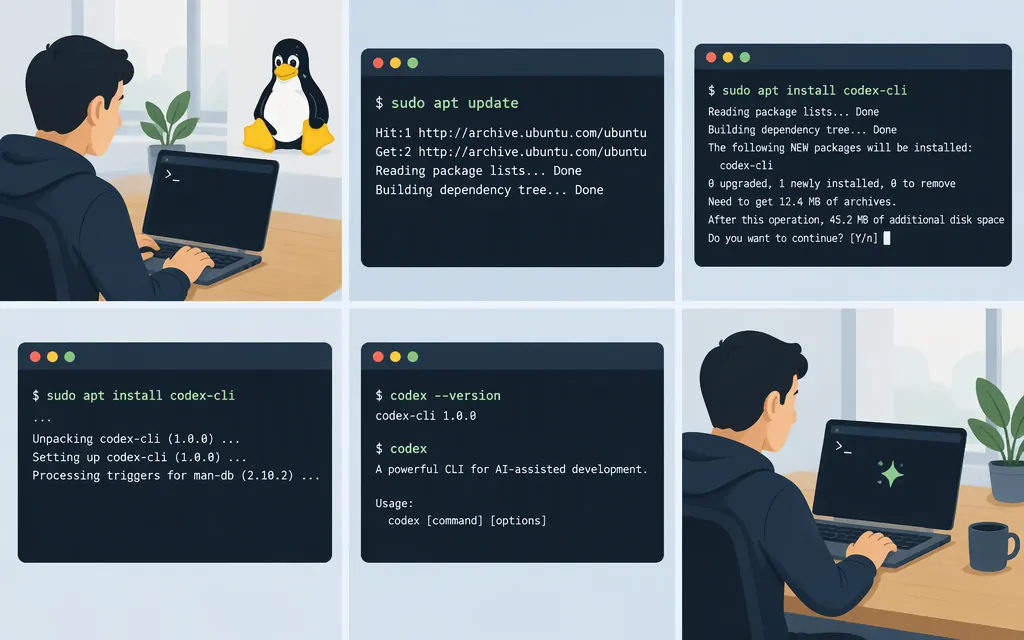
The quickest documented way to install OpenAI Codex CLI on Linux is to run OpenAI’s standalone installer:
curl -fsSL https://chatgpt.com/codex/install.sh | sh
Then open your project directory and run codex. At first launch, choose an available sign-in method. OpenAI documents this installer for macOS and Linux, and its repository also lists npm and Linux release binaries as alternatives. (github.com)
Install Codex CLI
-
Open a terminal.
-
Run the installer command:
curl -fsSL https://chatgpt.com/codex/install.sh | shThis command downloads the installer script and pipes it to
sh. If your organization requires reviewing or vetting scripts before execution, follow that policy before running it. -
Go to the repository where you want to work and start Codex:
cd /path/to/your/project codex -
On first launch, choose Sign in with ChatGPT or another sign-in option offered in the CLI. Once signed in, give Codex a task—for example, ask it to explain the project, make a focused change, or help debug a problem. (
learn.chatgpt.com)
The practical check that you are ready is that codex starts and you can reach its sign-in flow or task prompt. The official instructions cited here do not specify Linux distribution or architecture requirements, nor do they give a checksum or signature-verification procedure for the installer. Don’t assume these instructions establish compatibility with every Linux environment.
Do you need a production model API setup?
Not to follow the documented standalone install and ChatGPT sign-in path. Installing Codex CLI is different from adding an OpenAI model API integration to an application: the steps above install and launch the CLI, not application code that calls a production model API.
OpenAI’s repository says API-key use with Codex CLI is possible but requires additional setup. If you specifically want that authentication route, follow the current Codex authentication instructions rather than treating it as a prerequisite for the basic install. (github.com)
Other Linux installation options
The standalone installer is the simplest documented route for most readers. OpenAI’s repository also lists:
- npm:
npm install -g @openai/codex - Release binaries: Linux archives for x86_64 and arm64
These are alternatives, not extra steps required after the standalone installation. The repository listing identifies the archive options, but the instructions cited here don’t include a complete manual download, extraction, and PATH setup procedure. (github.com)
First task: keep the change easy to review
Before asking Codex to edit a project, consider creating a Git checkpoint so you can inspect or revert its changes. Then start with a bounded request, such as: “Explain how this project’s tests are run; don’t change any files.” When you’re ready for edits, ask for one focused change and review the resulting diff.