Quick answer
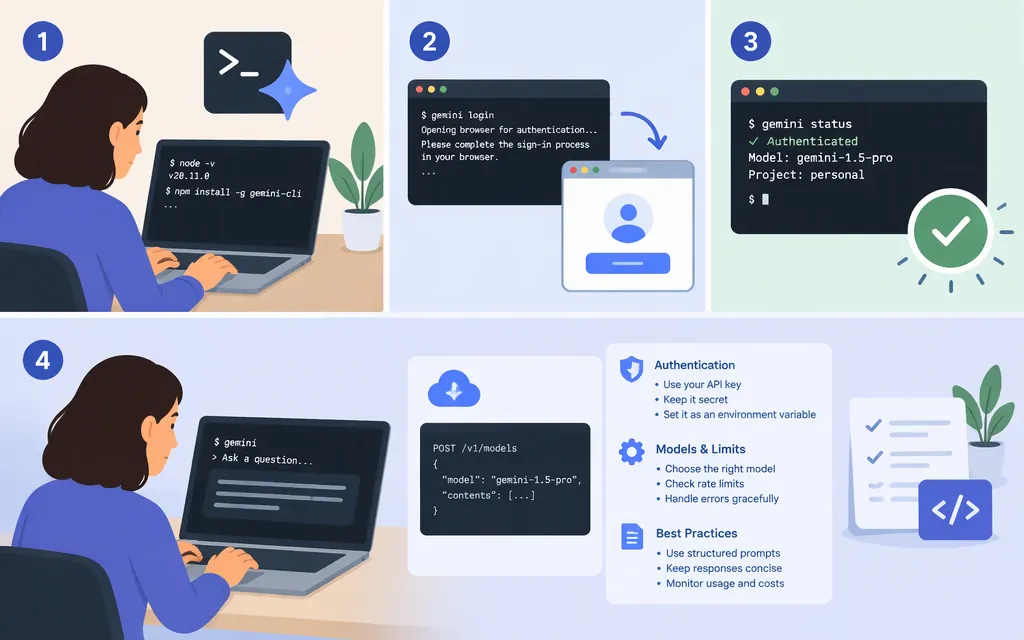
If you have an eligible organizational Gemini Code Assist license, install Gemini CLI globally with npm:
npm install -g @google/gemini-cli
gemini --version
gemini
The first command installs the CLI, the second checks that your shell can find it, and the third starts it. You’ll need Node.js 20.0.0 or newer. Before installing, check that Gemini CLI fits your account: Google positions the current tool for Gemini Code Assist Standard or Enterprise organizations and Code Assist for GitHub on Google Cloud. Personal free and Google AI Pro/Ultra access moved to Antigravity CLI on June 18, 2026. (Project README)
Check the requirements and account eligibility
The official installation guide lists Node.js 20.0.0 or newer and recommends macOS 15+, Windows 11 24H2+, or Ubuntu 20.04+. It lists Bash, Zsh, or PowerShell as supported shells. Check the current guide if your system differs. (Installation guide)
Check Node.js and npm before installing:
node --version
npm --version
If Node.js is missing or below version 20, install or update it, open a new terminal, and check again.
The current repository identifies Gemini Code Assist Standard/Enterprise organizations and Code Assist for GitHub on Google Cloud as its audience. It also mentions “legacy paid API / Vertex keys” without defining the conditions for that legacy category. Don’t assume a new API-key or Vertex AI setup is eligible based on that label alone; check the current authentication guide before choosing this CLI. (Project README)
Install, verify, and launch
For a regular global install, run:
npm install -g @google/gemini-cli
Then verify and launch it:
gemini --version
gemini
A version number means the command is available in your shell. The official installation guide also documents a temporary run without a global install:
npx @google/gemini-cli
See the official installation guide for current system requirements and installation options.
First run: sign in with an organization account
Before launching the CLI, ask your organization’s administrator for the Google Cloud project ID and confirm that your account has the required Gemini Code Assist access. The administrator typically handles license assignment, enabling the Gemini for Google Cloud API, and granting the necessary IAM roles. (Google Cloud setup guide)
In a Bash or Zsh terminal, set the project ID in the current terminal session before starting Gemini CLI. Replace the placeholder with the ID supplied by your administrator:
export GOOGLE_CLOUD_PROJECT="YOUR_PROJECT_ID"
gemini
When prompted, select Sign in with Google and complete sign-in with the organization account associated with your license. The CLI’s authentication guide documents GOOGLE_CLOUD_PROJECT as the project-setting mechanism; see that guide for other shells and authentication options. (Authentication guide; project-setting instructions)
When the CLI is ready for input, try a simple prompt:
Reply with: Gemini CLI is ready.
A response confirms that the CLI can make a request with the selected account and configuration. It does not establish that your separate application has production API access.
Gemini CLI versus a production model API
Gemini CLI is an interactive terminal agent. Installing it and getting a response in the terminal does not integrate a model into your application. For production application code, use Google’s GenAI SDK documentation or the relevant API documentation, and configure credentials, billing, and access for that application separately. Google describes its GenAI SDKs as production-ready libraries for applications using the Gemini API.
The CLI’s authentication guide lists API-key and Vertex AI routes, but that list does not establish whether either is available to a new Gemini CLI user after the transition. Confirm eligibility and route-specific project or credential requirements in the current authentication guide before relying on one. Don’t put long-lived credentials in source code.
Quick troubleshooting checks
nodeornpmis not found: Install or updateNode.js, open a fresh terminal, and rerunnode --versionandnpm --version.geminiis not found after installation: Open a new terminal and retrygemini --version. Check that npm’s global executable directory is on your shell’s PATH; don’t addsudoautomatically.- Sign-in or a request fails: Confirm you used the organization account associated with an eligible license, set the required project ID, and ask your administrator to check that the project API and your access are configured. Follow the route-specific steps in the official authentication guide.
In brief
Install with npm install -g @google/gemini-cli, verify with gemini --version, and launch with gemini. For organization sign-in, set GOOGLE_CLOUD_PROJECT before launching, then sign in with the eligible organization account. The current repository positions Gemini CLI for specified Gemini Code Assist organizational use; it labels API-key and Vertex AI use as legacy without defining those conditions. For production application calls, use the appropriate Google API and SDK setup rather than treating a working CLI session as application integration.
Sources
Gemini CLI README: audience, status, and installation
Gemini CLI authentication setup
Gemini CLI authentication setup: project environment variable