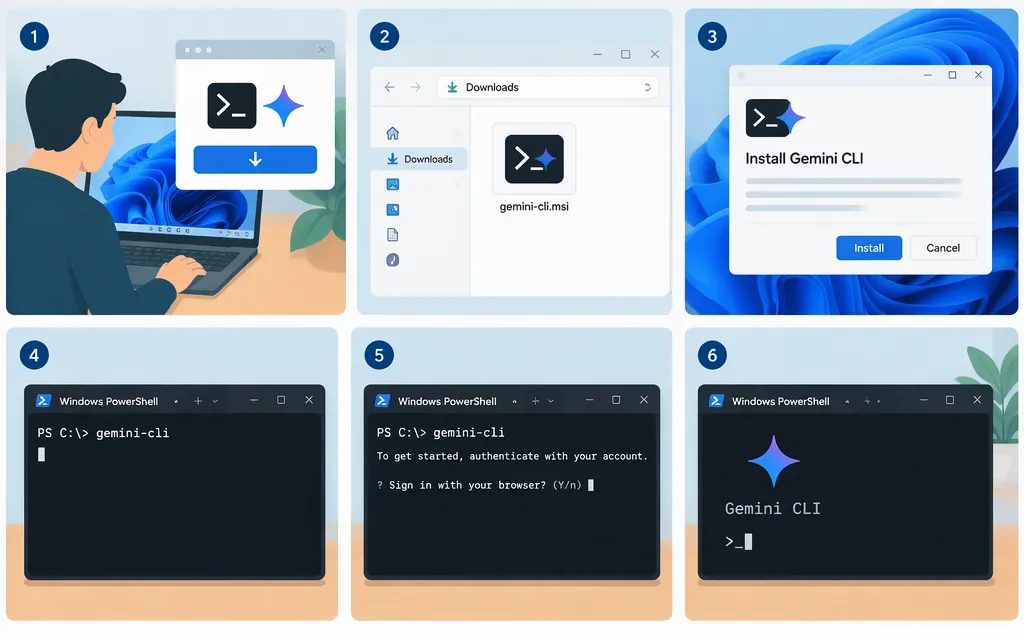
To install Gemini CLI locally, open PowerShell and run npm install -g @google/gemini-cli. Then check the installation with gemini --version and launch it with gemini. You’ll need Node.js 20.0.0 or later; on first launch, choose an authentication method. (Gemini CLI installation guide)
1. Check the prerequisites
- Windows: The Gemini CLI installation guide lists Windows 11 24H2 or later among its recommended system specifications. This is a recommendation, not a statement that earlier Windows versions are unsupported or a definitive minimum. (Gemini CLI installation guide)
Node.js: Install 20.0.0 or later. The officialNode.jsdownload page offers a Windows Installer (.msi) as well as other installation options. (Node.jsdownloads)- Terminal and connection: PowerShell is a listed shell, and an internet connection is required. The guide also specifies that Gemini CLI use must be from a Gemini Code Assist supported location. (Gemini CLI installation guide)
To install Node.js, use the official Node.js download page and select the Windows Installer (.msi). After setup finishes, close and reopen PowerShell so it picks up the installed commands. (Node.js downloads)
Check that Node.js and npm are available:
node -v
npm -v
The Node.js command should report version 20 or later. If either command is not recognized, finish or repair the Node.js installation before trying to install Gemini CLI.
2. Install Gemini CLI
In PowerShell, run:
npm install -g @google/gemini-cli
This is the documented global npm installation command. It is a general installation method—not a Windows-only command—and works from PowerShell when Node.js and npm are available. (Gemini CLI installation guide)
3. Verify the installation and launch the CLI
Check that the command responds with a version:
gemini --version
Then start Gemini CLI:
gemini
The Google Codelab gives gemini --version as an installation check; the installation and getting-started guides use gemini to launch the CLI. (Google Codelab; Gemini CLI getting-started guide)
4. Authenticate on first launch
In most cases, you can sign in with your existing Google account. Run gemini; when asked how you want to authenticate, choose Sign in with Google, select your account, and complete the sign-in in the browser. The authentication guide recommends starting with a personal Google account. (Gemini CLI getting-started guide; authentication guide)
Most individual Google accounts do not need a Google Cloud project for authentication. A project is required for organization accounts using a company, school, or Google Workspace account; for a Gemini Code Assist license from the Google Developer Program; and for a Gemini Code Assist subscription license. If one of these applies, follow the official instructions for setting your Google Cloud project rather than guessing at project settings. (Gemini CLI authentication guide)
A first-run theme choice may also appear. When you reach the interactive CLI and can enter a prompt, installation and initial sign-in are complete. (Google Codelab)
Optional: try Gemini CLI without a global install
If you only want to try the published package, run:
npx @google/gemini-cli
The official installation guide describes this as a way to run Gemini CLI without permanently installing it. For a reusable gemini command, use the global npm installation above. (Gemini CLI installation guide)
Gemini CLI authentication and production API use are separate setup tasks
Installing Gemini CLI does not configure a production application’s Gemini API integration. The CLI offers authentication options such as Google sign-in, a Google AI Studio API key, or Vertex AI, depending on your account and use case. For CLI API-key authentication, follow the official authentication guide and keep credentials out of source code and public repositories.
If you’re building an application that sends production requests to Gemini, use Google’s Gemini API documentation for API-key management and current request guidance. That is a separate workflow from installing this terminal CLI.
Sources
Gemini CLI installation, execution, and releases