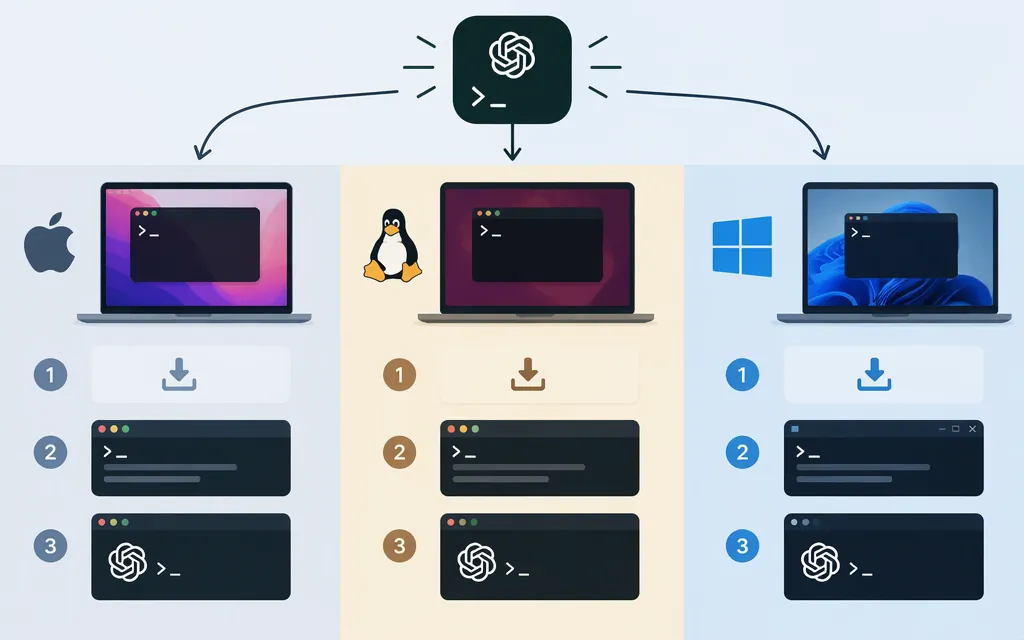
OpenAI Codex CLI is a coding agent you run from a terminal. OpenAI’s Codex repository lists a shell installer for macOS and Linux and a PowerShell installer for Windows. After installation, run codex and follow the sign-in prompt. Codex is included across ChatGPT plans, including Free and Go, though usage limits vary by plan and workspace settings may apply. If you want your own application to call a model, that is a separate API integration—not something installing Codex CLI does for you. (Codex CLI repository, Codex plan access)
First, make sure you want Codex CLI
This guide is for Codex CLI, the terminal-based coding agent. Codex is also available through other experiences, including the web, desktop app, and IDE extension; use the instructions for the specific experience you want. (OpenAI Codex documentation)
Install Codex CLI
Use the command for your operating system. These standalone installer commands are listed in OpenAI’s Codex repository. They download and run an installer, so make sure you are using the official source shown here. (Codex CLI repository)
macOS or Linux
Open Terminal and run:
curl -fsSL https://chatgpt.com/codex/install.sh | sh
Windows
Open PowerShell and run:
powershell -ExecutionPolicy ByPass -c "irm https://chatgpt.com/codex/install.ps1 | iex"
The repository also lists npm and Homebrew as alternatives. To keep setup simple, use the standalone installer above rather than combining installation methods. If you choose a package manager, follow its matching update instructions. (Codex CLI repository)
Sign in and check that it works
-
Open a terminal in your project directory and run:
codex -
Follow the prompt to sign in with your ChatGPT account. OpenAI says Codex is included across ChatGPT plans, including Free and Go; usage limits vary by plan. If you use an API key instead, Codex requires additional authentication setup. See the official Codex authentication guidance. API usage is billed separately from a ChatGPT subscription, so do not assume that ChatGPT plan access includes API usage. (Codex plan access, API billing)
-
When the Codex terminal interface opens, try a small, low-risk request, such as asking it to explain the project. Seeing the interface start confirms the command launches; receiving a response confirms sign-in and connectivity are working.
If the shell reports that codex is not found, close and reopen the terminal and try again. If the command is still unavailable, check that installation completed and that the executable’s location is on your PATH.
Codex CLI is not production API integration
Codex CLI is for working with code through the terminal. An application that sends model requests needs a separate API integration, including an API key and request-handling code. OpenAI’s API quickstart documents the Responses API and provides current setup and request examples.
For a basic connectivity test in a macOS or Linux shell, create an API key, set it in your environment, then send a request to the Responses API. The model shown below is from OpenAI’s current quickstart; check that a model is available to your API project before using it.
export OPENAI_API_KEY="your-api-key"

curl https://api.openai.com/v1/responses \
  -H "Content-Type: application/json" \
  -H "Authorization: Bearer $OPENAI_API_KEY" \
  -d '{
    "model": "gpt-6-astra",
    "input": "Reply with exactly: API connection works."
  }'
A successful request returns a JSON response containing the model output. For a production application, keep the key on your server in a secret manager or protected environment variable—never embed it in browser or mobile-app code, commit it to source control, or print it in logs. Review the API documentation for current model availability and the API pricing page for current rates before launch. This example checks connectivity; it is not a complete production design. (OpenAI API quickstart, API billing)
In short: install Codex CLI to use the coding agent in your terminal. Build a separate API integration if your product needs to send model requests from its own backend.
Sources
OpenAI Codex CLI repository and installation instructions
Using Codex with your ChatGPT plan