The short answer
If you want a chatbot in your own app or service, build it with the OpenAI API. If you want a GPT that runs inside ChatGPT, use the GPT Builder—but new GPT creation is unavailable on personal ChatGPT accounts, including paid plans. In managed workspaces, creation depends on product availability, settings, and permissions. OpenAI says new GPT creation ended on October 26, 2026 in affected Enterprise workspaces; FedRAMP workspaces are excluded from that cutoff. Custom GPTs are scheduled to retire on December 11, 2026, with a later date for certain workspaces. (Creating and editing GPTs, retirement FAQ)
The API example below makes a single request and prints the response. It does not create a GPT in ChatGPT or deploy a customer-facing app.
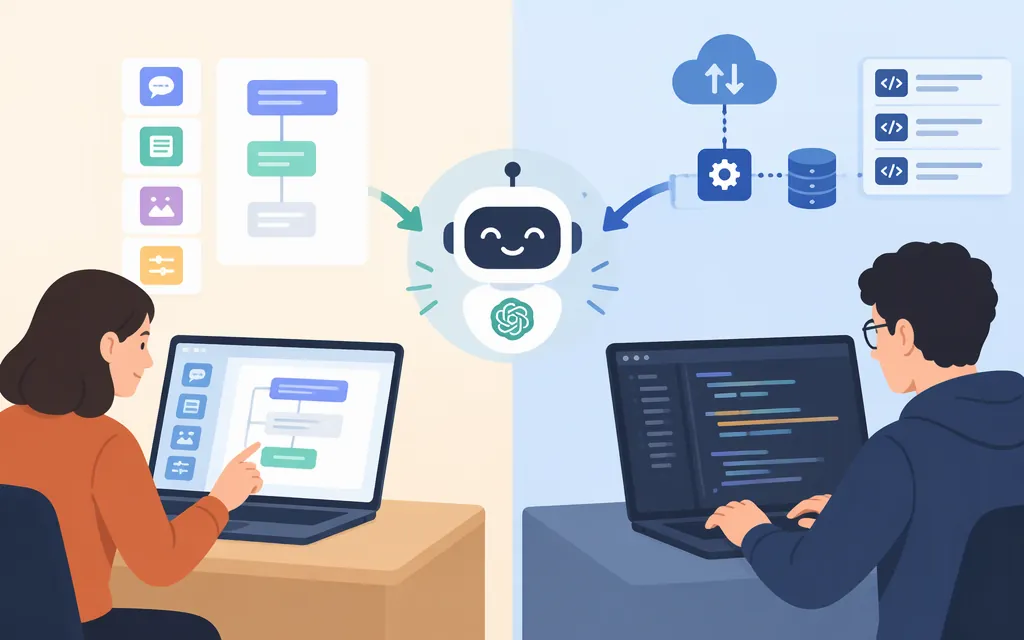
Choose your route
| What you want | Route | Important distinction |
|---|---|---|
| An assistant that runs inside ChatGPT | GPT Builder, if your workspace allows new creation | It runs in ChatGPT. Creation and sharing depend on account and workspace settings. |
| A chatbot in your own app, website, or internal tool | OpenAI API | You build an application that sends requests to a model. It is not automatically published in ChatGPT or the GPT Store. |
For a new project you need to operate in your own product, choose the API route. The Builder and API are separate workflows; making a GPT in ChatGPT does not create or deploy an API application.
Route 1: Create a GPT inside ChatGPT—if your workspace allows it
GPT creation and editing take place on the web, not in the mobile apps. Personal ChatGPT accounts—including Free, Go, Plus, and Pro—cannot create or publish new GPTs. In managed workspaces, creation depends on product availability, workspace settings, and permissions. The October 26, 2026 cutoff applies to affected Enterprise workspaces; FedRAMP workspaces are excluded. Check your workspace notice and permissions before starting. (Creating and editing GPTs)
If creation is available to you:
- In ChatGPT on the web, open Explore GPTs from the sidebar and select Create. You can also go to the GPTs area directly. (Creating and editing GPTs)
- Choose the conversational builder to describe what you want, or configure the GPT directly in its editor. (Creating and editing GPTs)
- Define the task, intended audience, tone, and what the GPT should do when it lacks necessary information. Add a name, description, and example conversation starters.
- Add reference files or capabilities only if they are available and useful for your task. GPTs can include instructions, conversation starters, knowledge files, and selected capabilities. (GPTs in ChatGPT)
- Test the GPT in Preview with realistic prompts. Check whether it follows the task, handles missing context sensibly, and avoids unsupported claims. Revise unclear instructions and test again. These checks can reveal problems; they do not guarantee accuracy.
- To share the GPT, open it in the editor, choose Share, select an available sharing level and permission level, then save the changes. Workspace administrators can limit sharing to invited people, the workspace, or broader options. If public link sharing is available, anyone with the link can access the GPT. Publishing to the GPT Store is a separate option and depends on eligibility, workspace settings, and permissions. Check the audience shown in your sharing controls rather than assuming a link works outside your workspace. Chat access and permission to view or edit the GPT’s configuration are separate; grant configuration permissions only when the interface offers them and the recipient needs them. (Sharing and publishing GPTs, managing GPT access in Enterprise and Edu)
OpenAI schedules standard retirement of custom GPTs for December 11, 2026. FedRAMP workspaces and affected Enterprise workspaces with a qualifying, approved deferral have a February 11, 2027 retirement date. The later date does not apply to every workspace, and a retirement deferral by itself does not preserve eligibility to create new GPTs. Follow the notice for your own account or workspace before investing in a long-term workflow. (Custom GPT retirement and migration FAQ)
Route 2: Build a minimal API-powered chatbot in Python
This example sends one request to the Responses API. You need Python 3.10 or later, the OpenAI Python SDK, an API key, and API access to the selected model. OpenAI’s Python documentation describes the client.responses.create(...) call and response.output_text for retrieving generated text. (OpenAI Python API library)
1. Install the SDK
python -m pip install openai
The Python library is published as openai on PyPI. (openai on PyPI)
2. Set your API key outside the code
Create an API key in your OpenAI API dashboard. In macOS or Linux, set it in your terminal:
export OPENAI_API_KEY="your_api_key_here"
In PowerShell:
$env:OPENAI_API_KEY="your_api_key_here"
Do not paste the key into the Python file, commit it to a repository, or expose it in browser or mobile-app code. For a real client-facing application, keep the key on a server you control and route requests through that backend. (Developer quickstart, API key safety)
3. Save this as custom_chatbot.py
from openai import OpenAI

client = OpenAI()

instructions = """
You are a practical project-planning assistant.
Ask a brief clarifying question when essential context is missing.
Separate known facts from assumptions, and do not invent details.
Give a concise answer with one useful next step.
"""

question = input("You: ")

response = client.responses.create(
    model="gpt-6-astra",
    instructions=instructions,
    input=question,
)

print("Assistant:", response.output_text)
The model ID, Responses API call, Python client initialization, instructions argument, and output_text response property follow OpenAI’s documented Python examples. This example has not been test-run here. Check the current model documentation and your account’s model access before building around a particular model. (Text generation)
4. Run it
python custom_chatbot.py
Enter a question at the prompt. The script sends the instructions and question to the API and prints the returned text; that describes the expected flow, not a report of a test run.
5. What you would add for an app
This script makes a single request and does not store conversation history. For a website or app, put the API call on a server you control: the client sends the user’s message to your server, your server calls the API with its protected key, and your server returns the answer. Add the application features your use case needs, such as session handling, input validation, error handling, rate limits, monitoring, and spend controls. The API call alone does not provide those features.
ChatGPT subscriptions and API billing are separate. Check current API pricing and your API organization’s billing settings before launch. (Managing billing for ChatGPT and the API platform)
Configure and evaluate the assistant
Use this instruction structure as a starting point for either route:
- Task: What should the assistant help with?
- Audience and context: What does it need to know about the user or situation?
- Answer format: How long should answers be? Should they include steps, examples, or a summary?
- Boundaries: What should it avoid assuming, deciding, or claiming?
- Missing information: Should it ask a question, state uncertainty, or give a limited answer?
Test a typical request, one missing an important detail, and one outside the assistant’s intended role. Check whether it follows the requested format, asks when essential context is missing, and avoids inventing facts. Make one specific change at a time, then rerun the same prompts. Testing helps you find issues; it does not guarantee accuracy or safety.
Which route should you use?
Choose the API if you need a chatbot in your own product or a workflow you control. Choose the ChatGPT Builder only if your workspace permits new creation and you specifically want the assistant to run inside ChatGPT. These are different products: creating a GPT in ChatGPT does not automatically create or deploy an API-powered application.
Sources
Managing GPT access in Enterprise and Edu workspaces
Custom GPT retirement and migration FAQ