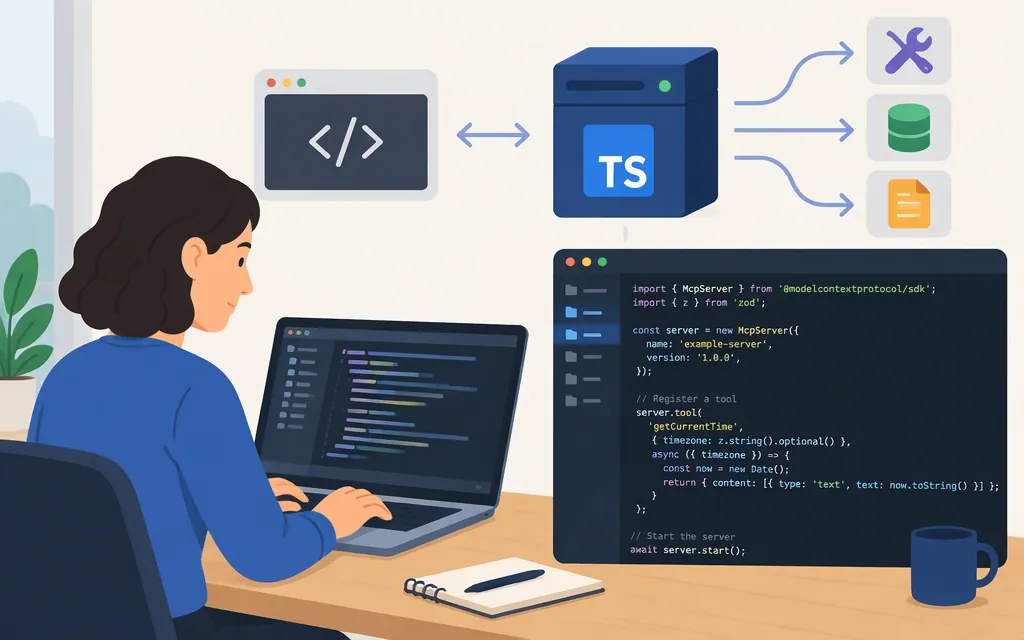
An MCP server exposes an application’s tools or data to an MCP client. In this tutorial, you’ll build a small TypeScript server with a read-only tool, run it over Streamable HTTP, and inspect it locally. Then you’ll see how the OpenAI Responses API can connect to a deployed MCP server.
These are two separate roles: the example server exposes a tool; it does not call a model API itself. In the API example, the Responses API connects to the MCP server.
The code follows the official TypeScript SDK v2 documentation for its imports, Hono route, and tool schemas. The documentation and package records support these API patterns, but do not establish that this exact tutorial has been executed with a particular pinned package pair. Install the packages together as shown below, and keep the generated lockfile if you need reproducible installs. (ts.sdk.modelcontextprotocol.io)
1. Set up the TypeScript project
You’ll need Node.js and npm. The MCP Inspector documentation specifies Node.js 22.19.0 or newer for its commands. (ts.sdk.modelcontextprotocol.io)
Create a project and install the server SDK, Hono adapter, and supporting packages:
mkdir task-mcp-server
cd task-mcp-server
npm init -y
npm pkg set type=module "scripts.start=tsx server.ts"
npm install @modelcontextprotocol/server @modelcontextprotocol/hono hono @hono/node-server zod@^4 tsx
The SDK v2 publishes @modelcontextprotocol/server. Its Hono guide shows McpServer and createMcpHandler imported from that package, createMcpHonoApp from the Hono adapter, and Zod v4 schemas for tools. The registerTool API takes a tool name, configuration, and handler; inputSchema and outputSchema accept schema objects, and structuredContent is validated against the output schema. (npmjs.com)
2. Create a server and register a tool
Create server.ts:
import { serve } from "@hono/node-server";
import { createMcpHonoApp } from "@modelcontextprotocol/hono";
import { createMcpHandler, McpServer } from "@modelcontextprotocol/server";
import type { Context } from "hono";
import * as z from "zod/v4";

// Demo data only. Replace this with your application or database layer.
const tasks = [
  { id: "task-1", title: "Write the launch brief", status: "open" },
  { id: "task-2", title: "Review the release notes", status: "done" },
];

const handler = createMcpHandler(() => {
  const server = new McpServer({ name: "task-server", version: "1.0.0" });

  server.registerTool(
    "list_tasks",
    {
      title: "List tasks",
      description: "List demo tasks, optionally filtered by status.",
      inputSchema: z.object({
        status: z.enum(["open", "done"]).optional(),
      }),
      outputSchema: z.object({
        tasks: z.array(
          z.object({
            id: z.string(),
            title: z.string(),
            status: z.enum(["open", "done"]),
          }),
        ),
      }),
      annotations: {
        readOnlyHint: true,
        destructiveHint: false,
        openWorldHint: false,
      },
    },
    async ({ status }) => {
      const results = tasks.filter((task) => !status || task.status === status);
      const structuredContent = { tasks: results };

      return {
        structuredContent,
        content: [
          { type: "text", text: `Found ${results.length} task(s).` },
        ],
      };
    },
  );

  return server;
});

const app = createMcpHonoApp();
app.all("/mcp", (c: Context) =>
  handler.fetch(c.req.raw, { parsedBody: c.get("parsedBody") }),
);

serve({ fetch: app.fetch, port: 3000, hostname: "127.0.0.1" });
console.log("Task MCP server listening at http://127.0.0.1:3000/mcp");
This is a focused, read-only tool with a Zod input schema, structured results, and a short text result. The input schema limits status to open or done; the output schema describes the returned task records. The demo’s in-memory task array is sample data—replace it with your application’s data access before adapting the example. This demo does not implement user authentication or authorization. The SDK documentation describes the Hono handler route and schema conventions used here; it does not make the annotations a substitute for security controls. (ts.sdk.modelcontextprotocol.io)
Start the server:
npm start
You should see:
Task MCP server listening at http://127.0.0.1:3000/mcp
3. Inspect and call the tool
In a second terminal, ask MCP Inspector to list the tools:
npx @modelcontextprotocol/inspector --cli http://127.0.0.1:3000/mcp --transport http --method tools/list
Call list_tasks with a valid input:
npx @modelcontextprotocol/inspector --cli http://127.0.0.1:3000/mcp --transport http --method tools/call --tool-name list_tasks --tool-arg status=open --format json
The result should include the task-1 record and a text summary. Try status=done to retrieve the other demo record. You can also launch npx @modelcontextprotocol/inspector without arguments and connect to the server through the Inspector UI. (ts.sdk.modelcontextprotocol.io)
Check that initialization succeeds, the tool appears, valid inputs return the expected records, and an unsupported status is rejected by the schema. Confirm that the tool is marked read-only. These checks concern the demo’s behavior; they do not establish that a real data source or authorization system is secure.
4. Connect the server to the OpenAI Responses API
A model API can connect to a remote MCP server; that is different from having the MCP server call a model API. OpenAI’s Responses API uses an MCP tool with a server_url for a remote server. The API example below follows the OpenAI guide’s request shape. Use an approval setting appropriate to the tools and data you expose; require_approval: "never" is only appropriate for this harmless, read-only demo.
Install the OpenAI JavaScript SDK and set your API key in the environment. In macOS or Linux, for example:
npm install openai
export OPENAI_API_KEY="your_api_key"
Keep the key in an environment variable or production secret manager. Do not commit it to source control or put it in an MCP tool definition. The OpenAI JavaScript SDK reads the API key from the environment.
Before using the remote API example, deploy the MCP server to an HTTPS URL reachable by the API and configure the listener and host checks for that deployment. The local sample binds to 127.0.0.1; changing the URL in the API request will not make that local listener remotely reachable.
For a Node deployment that accepts traffic through the public hostname, replace the local app and listener setup with the following. Substitute your real hostname in both places, and configure your hosting platform or reverse proxy to forward requests to this listener. Keep the host allowlist specific rather than disabling host checks.
const app = createMcpHonoApp({
  host: "0.0.0.0",
  allowedHosts: ["YOUR-DOMAIN.example"],
});
app.all("/mcp", (c: Context) =>
  handler.fetch(c.req.raw, { parsedBody: c.get("parsedBody") }),
);

serve({
  fetch: app.fetch,
  port: Number(process.env.PORT ?? 3000),
  hostname: "0.0.0.0",
});
The SDK’s Hono guide documents the non-local host and allowedHosts configuration. Configure the proxy so the Host header the app receives matches the allowlist. (ts.sdk.modelcontextprotocol.io)
Create call-model.ts:
import OpenAI from "openai";

const client = new OpenAI();

const response = await client.responses.create({
  model: "gpt-6-astra",
  tools: [
    {
      type: "mcp",
      server_label: "tasks",
      server_description: "Read the demo task list.",
      server_url: "https://YOUR-DOMAIN.example/mcp",
      // Only appropriate here for harmless, read-only demo data.
      require_approval: "never",
    },
  ],
  input: "List the open tasks.",
});

console.log(response.output_text);
Replace the example hostname with the deployed HTTPS hostname you configured above. This example connects the model API to the MCP server. If your application instead needs the MCP server itself to call a model API—for example, from within a tool handler—that is a separate integration. A prompt asking for a tool does not guarantee that the model will call it. Run the file with:
npx tsx call-model.ts
The returned output_text contains generated text. To inspect the full response—including tool-related output—log response.output as well.
5. Apply the example safely
Before connecting real data or accounts:
- Validate inputs. Treat tool arguments as untrusted and validate them in application logic as well as defining a schema.
- Authorize on the server. For private data or user actions, check permissions on each request and scope data access to the authenticated user. Do not rely on the model or client to determine access.
- Separate read and write actions. Make tools focused on distinct user goals. For consequential changes, use appropriate confirmation and set safety annotations to match the tool’s actual behavior.
- Protect secrets and personal data. Return only what the workflow needs; keep credentials and unnecessary sensitive data out of tool results and logs.
- Plan deployment around your workload. Consider transport support, network access, secret management, observability, and rollback needs. For public OpenAI plugin submission specifically, OpenAI’s plugin guidance calls for a stable, publicly reachable HTTPS endpoint. That submission requirement is not universal to every MCP client or deployment.
The core sequence is: set up the SDK, create a server, register a focused tool, start the transport, inspect the tool, then connect the intended MCP client or model API. Keep the MCP server’s job distinct from any model API calls your application may also need.
Sources
Serve with Hono — MCP TypeScript SDK
Schema libraries — MCP TypeScript SDK
@modelcontextprotocol/hono — npm
MCP Inspector — Model Context Protocol