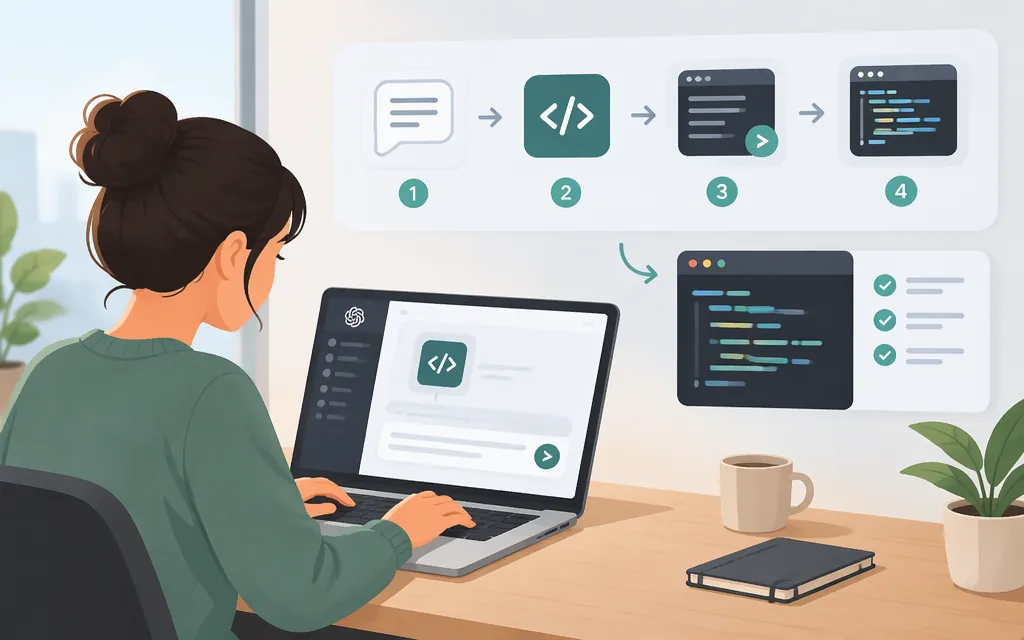
Codex can help with software tasks, but Codex Cloud access is different from general Codex access. OpenAI’s current access guide says Codex is included across ChatGPT plans, while Codex Cloud is not included with Free or Go. Cloud is available to eligible Plus, Pro, Business, Enterprise, Healthcare, and Education accounts, subject to rollout and workspace settings. If your account may be eligible, you can connect a GitHub repository, prepare and publish an environment, then send Codex a bounded task. Review changed files and test results before using the work. A model API request is a separate workflow: it sends input to a model but does not, by itself, work on your repository like a coding agent. (OpenAI API documentation)
Choose the right way to use Codex
- Have Codex work on a project in the cloud: Use Codex Cloud with a published environment. Start a task from ChatGPT; the environment contains the repository and setup the task needs. Cloud eligibility depends on your plan, rollout, and workspace settings. See OpenAI’s Codex Cloud guide and access guide.
- Work with files on your computer: Codex is also available through clients such as the ChatGPT desktop app, Codex CLI, and an IDE extension. These are separate workflows; use the current setup instructions for the client you choose. See Using Codex with your ChatGPT plan.
- Build an application that calls a model: Use the OpenAI API. OpenAI documents model API code generation separately from Codex coding-agent workflows. The example below makes a model request; it is not a Codex repository task. (OpenAI API documentation)
Start a first coding task with Codex Cloud
This walkthrough uses ChatGPT and a GitHub repository. You need a ChatGPT account and access to the repository you want Codex to work on. First check the access distinction above: Free and Go do not include Codex Cloud; eligible Plus, Pro, Business, Enterprise, Healthcare, and Education accounts may have access, subject to rollout and workspace settings. Eligibility does not guarantee that Cloud is enabled for your account. If you use a managed workspace and do not see the cloud controls, check with your administrator. See the current Codex access guide.
Prepare and publish the project environment
- Open ChatGPT and sign in with the account you intend to use.
- In a new task, choose Work in > Cloud, open Select environment, and choose Create environment.
- Select the GitHub repository or repositories Codex needs. Connect GitHub if prompted, then choose Get started.
- Let Codex inspect the repository, prepare dependencies and tools, and test the setup. Provide missing information or access if it asks.
- Review the setup report and test results, save any changes, and choose Publish. Wait for the Environment published confirmation. You can also choose an existing published environment if one is already set up for the project. See the Codex Cloud setup guide.
Submit a small task and review it
After publishing, choose Start a new task, describe the task, and send it. For example, adapt this prompt to an issue in your repository:
Investigate why the settings page shows a blank screen when the saved theme is missing. Make the smallest appropriate fix. Add or update a test for the missing-theme case, run the relevant tests, and report the files changed and test results. Do not change unrelated settings behavior.
When the task finishes, inspect the changed files and test results. If something is incomplete, ask for a specific follow-up in the same task. Run relevant checks and review the behavior before relying on the change; passing tests do not prove every requirement or edge case is correct. OpenAI advises reviewing changes and test results before using the work. See the Codex Cloud guide.
Each cloud task starts in its own isolated workspace with separate working files. To continue unfinished work, return to that task; starting a new task does not recover another task’s uncommitted changes. Commit important work to source control. See the Codex Cloud guide.
For a local project instead, choose a supported local client such as Codex in the ChatGPT desktop app, Codex CLI, or an IDE extension. The exact setup and project controls depend on the client; use OpenAI’s current Codex access and setup guide rather than assuming the cloud steps apply.
Write prompts that are easier to check
A useful task prompt states the goal, context, constraints, checks, and expected report:
Goal: What should change?
Context: Which feature or behavior matters?
Constraints: What should remain untouched?
Checks: What test or observable behavior would show whether it worked?
Report: Summarize the changes, checks run, and anything you could not verify.
For example: “Correct the date formatting on the invoice screen for the selected locale. Keep the change limited to invoice display. Add a regression test for the affected format, run the relevant tests, and report any tests you could not run.” This is an editorial prompt pattern, not required Codex syntax or a guarantee of correctness.
Start with a narrow task rather than a loosely defined rewrite. Inspect the diff, compare the result with your acceptance criteria, and investigate failed, skipped, or missing checks. For pull-request review, OpenAI likewise advises checking changed lines, findings, comments, test results, and unresolved conflicts. See Review pull requests with Codex.
Codex in ChatGPT versus a production model API
Using Codex means working with OpenAI’s coding agent through a supported client or agent workflow. Using the API means your application sends a request to a model and handles the response. OpenAI documents API-based code generation separately from Codex coding-agent workflows. (OpenAI API documentation)
Here is a minimal Python model-request example. It asks for an explanation of a code issue; it does not inspect your repository, edit project files, or run tests on its own. The OpenAI API quickstart demonstrates the Python SDK, the Responses API, the gpt-6-astra model, and response.output_text. See the API quickstart.
First, sign in to the OpenAI API Platform and create an API key in the API keys page. The full secret is shown only when you create it. Keep it private; do not commit it to source control. The API Platform has its own billing setup, separate from ChatGPT subscriptions. See Where do I find my OpenAI API key? and Managing billing for ChatGPT and the API Platform.
Install the SDK and set the key as an environment variable in your terminal:
python -m pip install openai
export OPENAI_API_KEY="your_api_key_here"
The export command is for macOS or Linux shells. Use the environment-variable setup appropriate to your operating system if you are on Windows. Save the following as api_example.py:
from openai import OpenAI

client = OpenAI()
response = client.responses.create(
    model="gpt-6-astra",
    input="Find the likely null pointer issue in this code: def display_name(user): return user.profile.name; print(display_name(None))",
)
print(response.output_text)
Run the saved script from that terminal with:
python api_example.py
The script prints the model’s text response. Check the current API quickstart and code-generation guide for model suitability and current API details before adapting it. This short example is for trying a request, not a production-ready application.
If the first request fails: For an authentication error, confirm that OPENAI_API_KEY is set in the same terminal, that the key is valid and belongs to the intended API organization or project, and that you did not paste an outdated key. See OpenAI’s guide to incorrect API keys. For a 429 response, read its error details: it can mean a rate limit, exhausted credits, or a spend or usage limit. Pace requests for a rate limit; for a billing or quota error, check the relevant API project’s balance and limits rather than repeatedly retrying. See troubleshooting API rate limits and 429 errors. If the model is unavailable to the project, check its model access and permissions in the API Platform.
ChatGPT and the API Platform have separate billing systems. API costs depend on the models and features used; check the current API pricing and billing settings for applicable charges.
For an application that needs an agent to explore and act on a codebase, consult OpenAI’s current Codex developer documentation rather than assuming one text-generation request provides those capabilities.
First-task checklist
- Choose a Codex client or API route that matches your goal; they are not interchangeable.
- For a cloud task, use a repository and published environment you are authorized to access, and confirm that your account and workspace have Cloud access.
- Give Codex a bounded request with observable checks.
- Review changed files and test results, and run relevant checks before relying on the work.
- Keep API credentials private and out of source control.
- Check current plan, workspace, model, usage, and billing details in official documentation when they affect your setup.
Sources
Using Codex with your ChatGPT plan
Review pull requests with Codex
Developer quickstart | OpenAI API
Where do I find my OpenAI API Key?