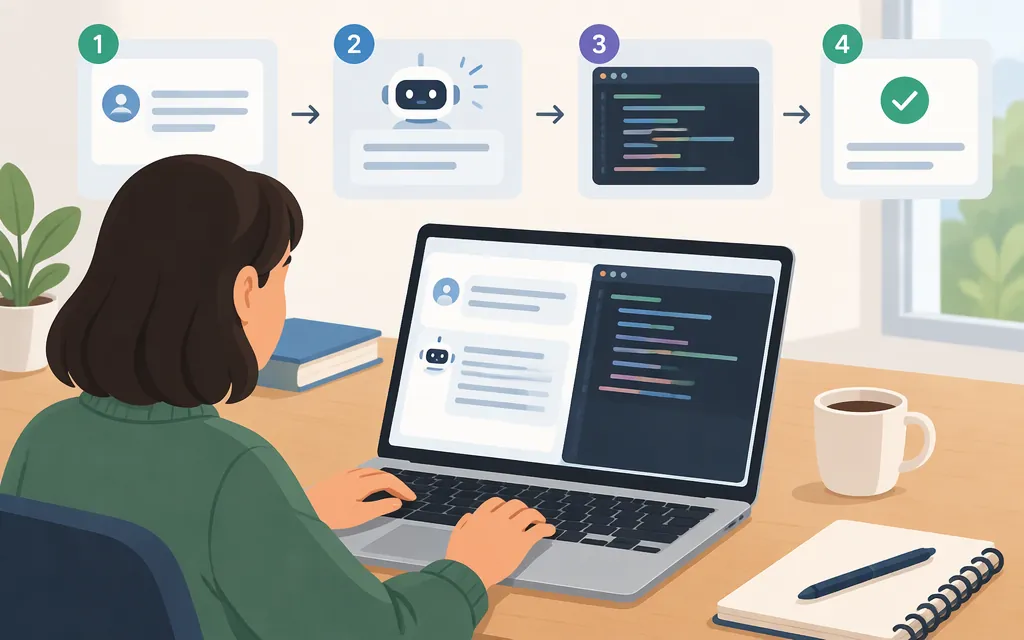
Codex is OpenAI’s coding agent for writing, reviewing, and debugging software. In the current desktop app, sign in with your ChatGPT account, select Codex from the desktop menu, choose a folder or Git repository on your computer, and give Codex a specific first task. If you’re building an application that calls a model, use the OpenAI API instead: it’s a separate developer workflow with its own API key and code. (OpenAI’s Codex overview)
Before you start
Install the current ChatGPT desktop app and check access. Download the app for your operating system from chatgpt.com/download, install and open it, then sign in with your ChatGPT account. Make sure you’re using the new ChatGPT desktop app, which includes Codex—not the older ChatGPT Classic app. In the new app, select Codex from the desktop menu. (OpenAI desktop app download; OpenAI guide to the new desktop app)
On Mac, the listed requirements—macOS 14 or later and an Intel processor or Apple silicon (M1 or later)—are requirements for the ChatGPT macOS app used in this walkthrough. OpenAI says Codex is included across ChatGPT plans, including Free and Go; usage limits vary by plan. Access can also depend on rollout and workspace settings, so if Codex doesn’t appear, check your account or ask your workspace administrator. (ChatGPT macOS app requirements; Codex plan access)
This walkthrough uses the desktop app’s local-project flow. Have a project folder you’re comfortable working in. If it’s a Git repository, know how to view its changes; saving or committing your current work first gives you a clear before-and-after comparison. Codex is also available through other surfaces, including an IDE, CLI, web, and mobile; setup differs by surface. (OpenAI Codex overview)
Open a project: in the desktop app, select Codex from the menu, then follow the Codex setup flow to choose a folder or Git repository on your computer. Start a task once the project is selected. (OpenAI guide to the new desktop app; OpenAI Codex getting started)
Use Codex for a first coding task
Start with a small change that has a visible result—for example, adding a brief explanation to a function that currently has none.
-
Open the project. In Codex, choose the folder or Git repository you want it to work in. Confirm you selected the intended project before asking for changes. (OpenAI Codex getting started)
-
Give it a bounded request. For example:
Inspect the function that formats user display names. Add a short explanation of what it does and clarify how it handles a missing name. Keep the change small. Before editing, tell me which file you plan to change. Afterward, summarize the change and suggest a relevant check. Don’t change unrelated files.
Adjust the request to match code that actually exists in your project. Asking Codex to identify the file first helps you catch a wrong assumption before the edit.
-
Review the proposed work. Check which files changed and read the diff—the line-by-line comparison between your original files and the new versions. Confirm that the edit matches the request and doesn’t include unrelated changes. The exact review controls depend on the Codex surface you’re using; this walkthrough doesn’t assume a particular button or interface label.
-
Run a project check. Use the test or lint command already documented by your project, if one applies. For a Git repository,
git diff --checkcan flag whitespace errors, andgit diffdisplays the changes in the terminal. These checks help you inspect the patch; they do not prove that the behavior is correct. -
Decide whether to keep the change. If it looks right and the relevant checks pass, keep it using your normal Git workflow. Otherwise, ask for a targeted correction or restore the affected files using your usual version-control process.
Expected outcome: a narrowly scoped edit in the selected project, a diff you can inspect, and a check result you can evaluate. This is an illustrative workflow, not a reported test of Codex or a guarantee that the generated change will be correct. OpenAI describes Codex as helping with code writing, review, and debugging; you should still verify its work in your own project. (OpenAI Codex overview)
Review Codex’s work before relying on it
Before merging or shipping a change:
- Read the full diff, including any files beyond the one you expected.
- Check that the implementation fits the project’s existing patterns and requirements.
- Run relevant tests or other project checks, and investigate failures rather than treating a completion message as proof.
- Keep your original work recoverable, especially when trying Codex on an unfamiliar repository.
A focused, one-task-at-a-time approach is easier to review when you’re learning. Codex also supports other interfaces and workflows, but you don’t need a multi-agent or automated setup to complete a first small task. (OpenAI Codex overview)
When to use the OpenAI API instead
Use Codex when you want a coding agent to work with a codebase. Use the OpenAI API when your own application needs to send model requests and handle the results. OpenAI documents these as distinct paths: Codex for software-engineering work, and API models for integration into an application. (OpenAI Codex overview)
Here’s a minimal Python request using the official OpenAI SDK and the gpt-6-astra model identifier shown in OpenAI’s API quickstart. It sends text to the Responses API and prints the returned text. (OpenAI API quickstart)
pip install openai
export OPENAI_API_KEY="your_api_key_here"
Create example.py:
from openai import OpenAI

client = OpenAI()
response = client.responses.create(
    model="gpt-6-astra",
    input="Suggest one small improvement to this function: def double(n): return n * 2",
)
print(response.output_text)
Run it with python example.py. The SDK reads OPENAI_API_KEY from the environment; create the key through the OpenAI API platform. For a deployed application or automated workload, OpenAI recommends using a project service account rather than relying on an individual developer’s personal identity. Keep API credentials out of browser-side code and other places where users can see them. (OpenAI API quickstart; API keys and service accounts)
This example demonstrates a text request only. It does not give the API access to your repository, implement a coding agent, or cover deployment, error handling, or usage-cost estimation. If your goal is to change code in a project, start with Codex; if your goal is to add model responses to software you control, start with the API.
Common first-run snags
- Codex is working in the wrong project: Recheck the selected folder or repository before continuing.
- The request is too broad: Ask for one change, name the relevant behavior, and say what should remain untouched.
- You can’t tell what changed: Inspect the diff or ask Codex to identify the files it modified, then compare those files with your original work.
- Codex doesn’t appear in the desktop app: Confirm you’re signed into the intended ChatGPT account and using the new ChatGPT desktop app rather than ChatGPT Classic; access may depend on rollout or workspace settings. (OpenAI guide to the new desktop app; Codex plan access)
- The API example can’t authenticate: Confirm that
OPENAI_API_KEYis set in the same terminal session that runs Python, and that you created an API key. OpenAI’s quickstart also provides Windows-specific environment-variable instructions. (OpenAI API quickstart)
Sources
Moving to the new ChatGPT desktop app — OpenAI Help Center
Downloading the ChatGPT macOS app — OpenAI Help Center
Using Codex with your ChatGPT plan — OpenAI Help Center
Get started with Codex — OpenAI