Short answer
OpenClaw documents a Kimi Coding model-provider route. That means you can configure Kimi Coding as the model behind an OpenClaw agent; it does not, by itself, mean OpenClaw runs the Kimi Code CLI as a tool. The documented model reference is kimi/kimi-for-coding. Kimi Coding and the standard Moonshot API are separate providers with different credentials and model references. (OpenClaw provider docs)
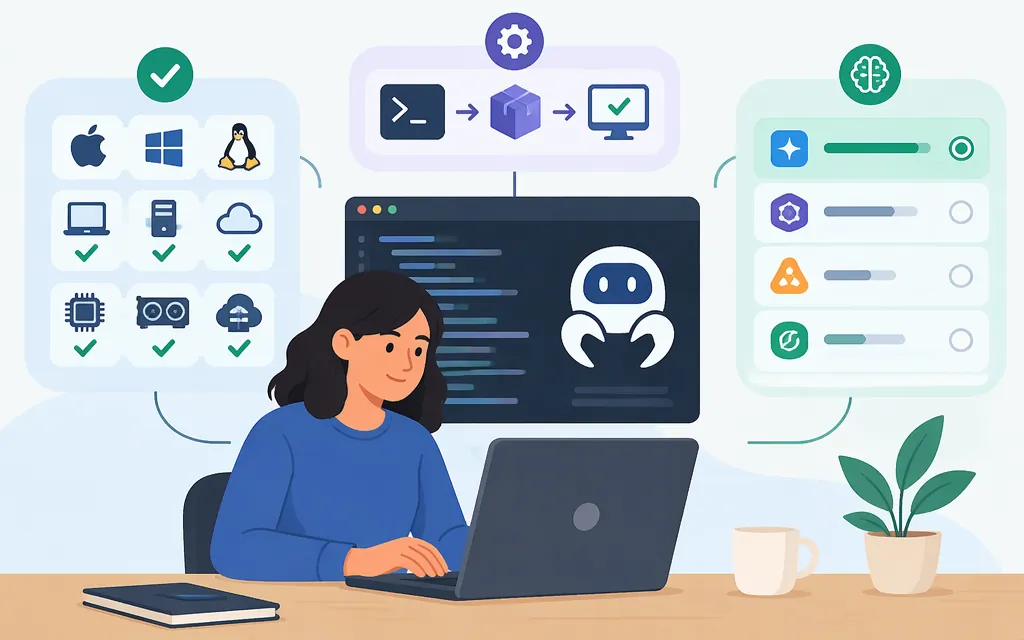
Choose the route that matches your goal
| Goal | Route | What it means |
|---|---|---|
| Use Kimi Coding as an OpenClaw agent model | Kimi Coding provider | Configure the Kimi provider plugin and use a Kimi Coding credential. |
| Use a general Kimi API model in OpenClaw | Moonshot provider | Use the separate Moonshot API provider and its matching credential and model reference. |
| Run Kimi Code CLI in a terminal or editor | Kimi Code CLI | This is a coding-agent application. Its documented CLI and editor setup is distinct from configuring OpenClaw’s model provider. |
OpenClaw lists its Kimi plugin as supporting Kimi, Kimi Code, and Kimi Coding provider surfaces. Its provider guide distinguishes Moonshot from Kimi Coding; their keys and model references are not interchangeable. (Kimi plugin reference, Moonshot and Kimi Coding provider guide)
Set up Kimi Coding as the OpenClaw model provider
The documented route is to install the Kimi provider plugin, authenticate with the Kimi Code API-key option, and explicitly select the Kimi Coding model. The commands below are reader instructions, not a setup test performed for this article.
-
Install the Kimi provider plugin in your OpenClaw environment:
openclaw plugins install @openclaw/kimi-providerOpenClaw identifies
@openclaw/kimi-provideras the plugin package. Its plugin-management documentation covers installing plugins through the CLI. (Kimi plugin reference, Install plugins) -
Run onboarding with the Kimi Code API-key option:
openclaw onboard --auth-choice kimi-code-api-keyEnter the Kimi Coding key when prompted. This is a distinct credential route from a standard Moonshot Open Platform API key. (Provider examples, Moonshot and Kimi Coding provider guide)
-
List the available models, then explicitly set the documented Kimi Coding model:
openclaw models list
openclaw models set kimi/kimi-for-coding
OpenClaw documents
kimi/kimi-for-codingas the Kimi Coding model reference and providesopenclaw models listandopenclaw models setfor inspecting and choosing models. Explicitly setting the model avoids assuming onboarding changed the default. (Moonshot and Kimi Coding provider guide, Models CLI) -
Confirm the active model and authentication status:
openclaw models statusOpenClaw’s status command reports the resolved default model and an authentication overview. If the model is missing from the list or authentication is not usable, check that the plugin is installed and that you chose the Kimi Coding credential route. (Models CLI)
-
Run a low-risk reader-run test in a new session—for example, ask the agent to explain a short code snippet. Confirm the response uses the intended provider before giving the agent access to files or tools that can make changes. This is a suggested smoke test, not a test performed for this article.
Kimi Coding versus the Moonshot API
Choose the Kimi Coding provider when you intend to use Kimi Coding with its compatible credential. Choose the Moonshot provider when you want a general Kimi model through the Moonshot API. OpenClaw documents them as separate provider routes; do not swap their keys or assume their model names are interchangeable. (Moonshot and Kimi Coding provider guide)
Older tutorials may show different Kimi model names or third-party gateways. Those examples can describe other providers or model catalogs, so check them against the documentation for the route you are actually configuring. This guide does not state a current Kimi Coding subscription price or an API rate; check the terms and billing for your account before estimating production spend.
Production checks
Before using an agent on consequential tasks, confirm the selected provider and model with openclaw models status, check that the credential is accepted for that route, and verify billing under your account. Start with a limited, low-risk workflow and grant only the tool access it needs. A model’s presence in a provider catalog does not establish your account’s price, quota, or suitability for a particular production workflow.
Bottom line
For Kimi Coding as OpenClaw’s model, install @openclaw/kimi-provider, authenticate with the Kimi Code API-key option, and explicitly select kimi/kimi-for-coding. For Kimi Code CLI itself, use its documented terminal or editor workflow; the CLI documentation alone does not configure it as an OpenClaw tool. Keep Kimi Coding credentials separate from standard Moonshot API credentials.
Sources
Moonshot AI and Kimi Coding providers — OpenClaw