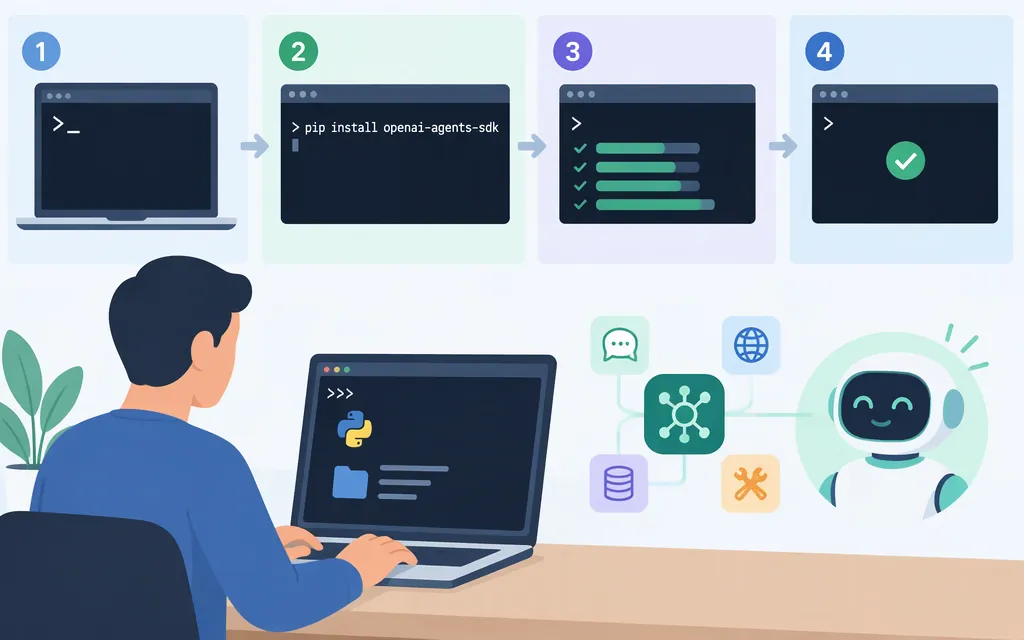
The OpenAI Agents SDK install command is pip install openai-agents. Use the hyphenated package name—not pip install openai agents—and run the install inside a virtual environment. OpenAI’s quickstart requires Python 3.10 or newer.
1. Create and activate a virtual environment
In a terminal, create a project directory and environment:
mkdir my_project
cd my_project
python -m venv .venv
Activate it before installing. Use the command for your platform:
# macOS or Linux
source .venv/bin/activate
# Windows PowerShell
.venv\Scripts\Activate.ps1
:: Windows Command Prompt
.venv\Scripts\activate.bat
OpenAI’s quickstart shows source .venv/bin/activate on macOS or Linux and .venv\Scripts\activate on Windows. The Windows commands above make the shell-specific forms explicit.
2. Install the SDK
With the virtual environment active, run:
python -m pip install openai-agents
Using python -m pip runs pip through the Python interpreter selected in your active environment. OpenAI’s documented command is pip install openai-agents.
3. Check that Python can import it
Run:
python -c "from agents import Agent, Runner; print('Agents SDK import OK')"
Expected output:
Agents SDK import OK
This checks that the active Python environment can import the SDK. It does not make an API request or confirm that your credentials or model access work.
4. Set your API key and run a minimal agent
The SDK quickstart says to set OPENAI_API_KEY before running an agent. Create or manage an API key through the OpenAI API platform; the full secret is shown only when created, so save it securely. Don’t paste it into your Python source or commit it to a repository.
Set the key in your current terminal session, replacing the placeholder with your key:
# macOS or Linux
export OPENAI_API_KEY="your-api-key"
# Windows PowerShell
$env:OPENAI_API_KEY = "your-api-key"
:: Windows Command Prompt
set "OPENAI_API_KEY=your-api-key"
Save this as hello_agent.py:
from agents import Agent, Runner

agent = Agent(
    name="Assistant",
    instructions="Answer clearly and concisely.",
    model="gpt-5.6-luna",
)

result = Runner.run_sync(agent, "In one sentence, what does an SDK do?")
print(result.final_output)
The Agents SDK documentation describes gpt-5.6-luna as its default model when an agent doesn’t specify one; here it’s written explicitly so the model choice is visible. For a string model name resolved by the default OpenAI provider, the SDK uses an OpenAI Responses model, which calls the Responses API. The documentation also describes a separate Chat Completions model for that API. Model availability can depend on your API access.
Run the script from the same terminal where you activated the environment and set the key:
python hello_agent.py
If setup and API access are working, the script prints a short answer. Runner.run_sync is the SDK’s synchronous runner; use the asynchronous Runner.run pattern instead when you’re already inside an event loop, such as in an async application.
Optional installation extras
The basic text-agent example does not need these extras. Install one only if you need its feature:
# Voice support
python -m pip install 'openai-agents[voice]'

# Redis session support
python -m pip install 'openai-agents[redis]'
OpenAI lists voice and redis as optional installation groups.
In short: create and activate a virtual environment, install openai-agents, set OPENAI_API_KEY, then run a small agent script. The import check confirms the package is installed; the agent run is the step that exercises an API request.
Sources
Quickstart — OpenAI Agents SDK
Running agents — OpenAI Agents SDK